Before you can start sending invoices to your Members, you need to add Members to your space. To do so, go to Members > Add Member.
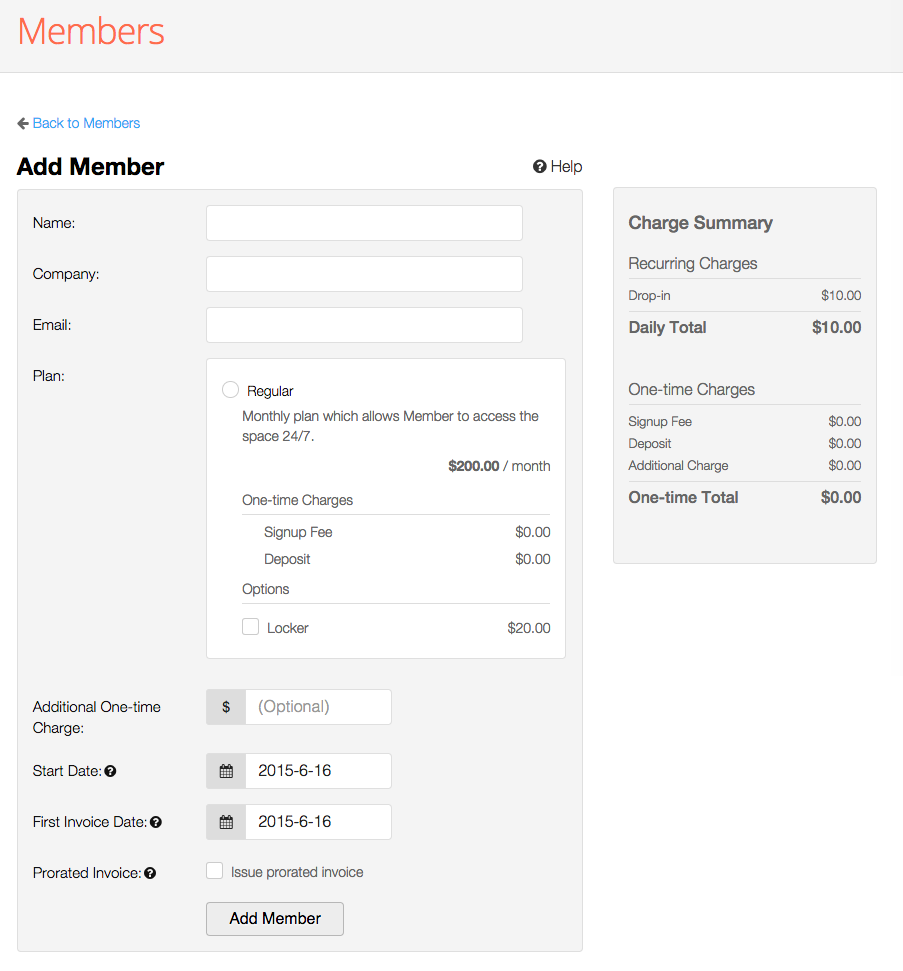
Populate the fields as needed. You will see the charge summary on the right being updated as you make changes. The charge summary shows how your Member will be charged initially and periodically.
In order to issue a prorated invoice select the start date and first invoice date, and check "Issue prorated invoice". Then Coworkify issues an invoice for the time between the start date and the first invoice date.
If you see the first invoice date field being blank, it means you have not yet configured the invoice day. Refer to Setting up invoice for how to configure the invoice day. When you are done, click "Add Member" button at the bottom.
Now that new Member is added to your space, but he/she needs to accept the plan conditions and terms via an invitation email sent by you. Below is an example of Invite Member page showing the invitation email template. You can customize it if you wish.
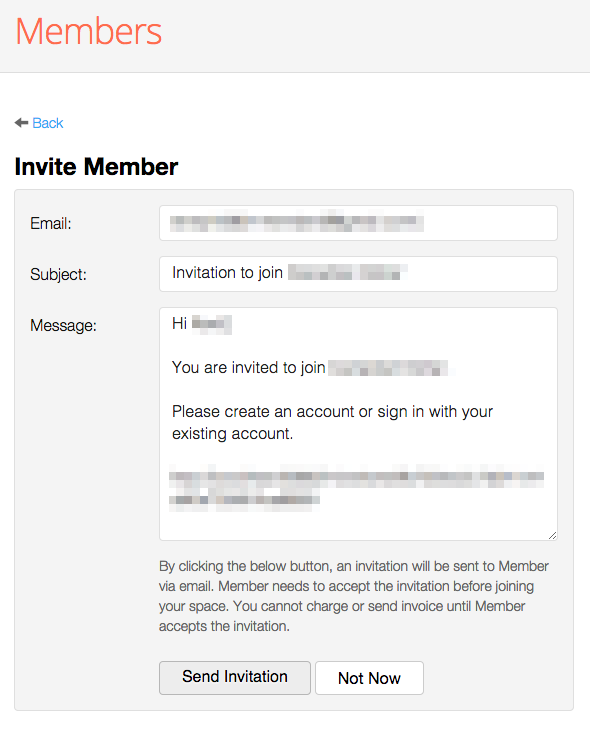
Do not remove the link at the bottom of message. This is needed for the Member to sign up to your space. When you are done, click "Send Invitation" button to send an invitation email to the Member.
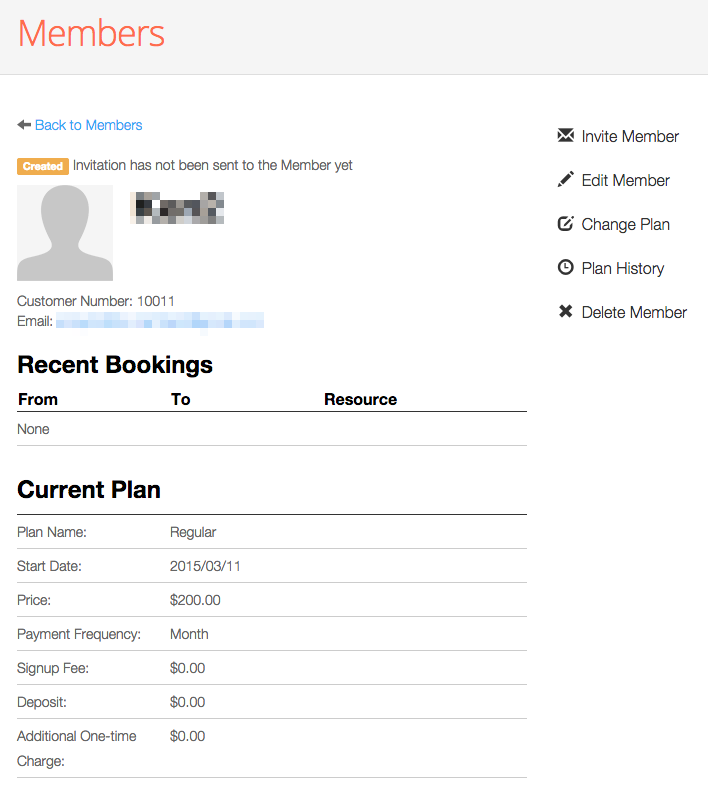
You can also choose not to send an invitation email now, but do it later. To do so, click "Not Now" button. You can send an invitation email any time later by clicking on "Invite Member" menu on member detail page as shown below.
That's it. You have completed the getting started guide. If you have additional question, please contact us at support@coworkify.com

1 Comments